
Tips & Tricks You Must Know
General
- For consistent builds on the carnival wheel map Jumprope is a great start if you put it near the center since the ball gets stuck on it you can get a quick few thousand.
- Then, for late game build towards either caves, treasure, or water. Basically anything with some good scaling.
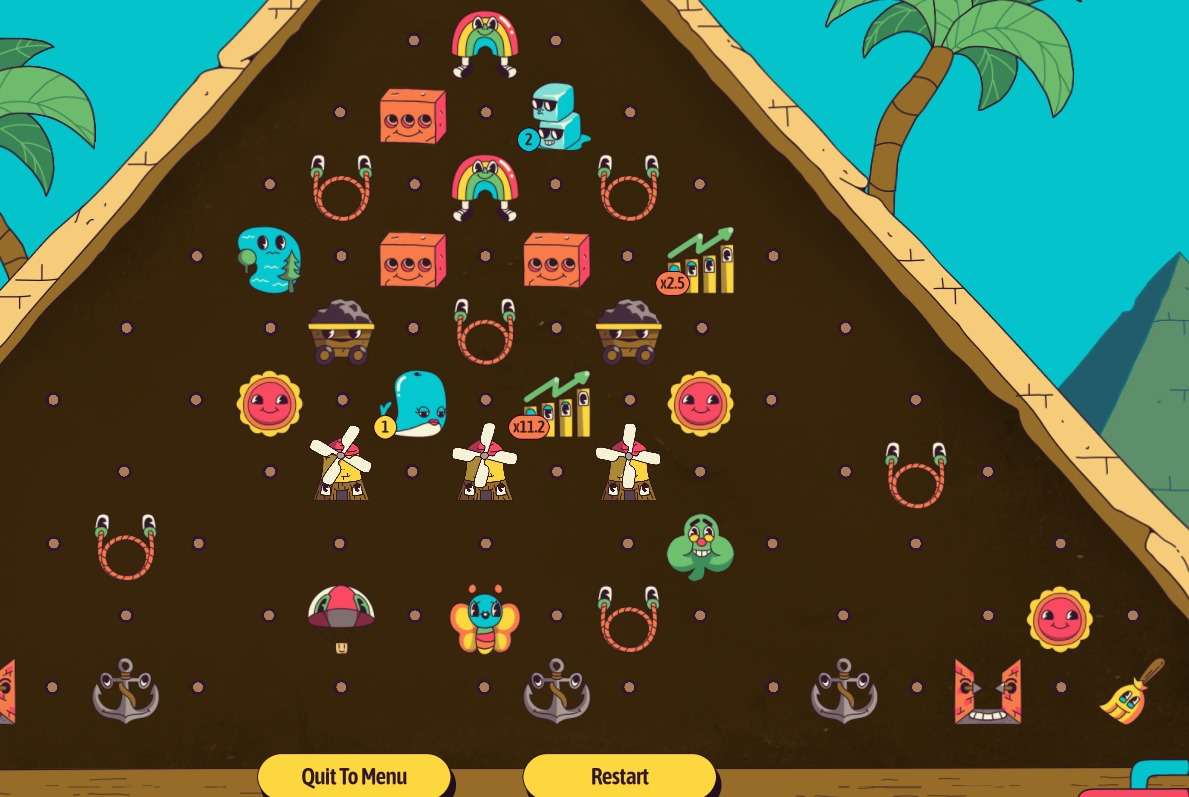
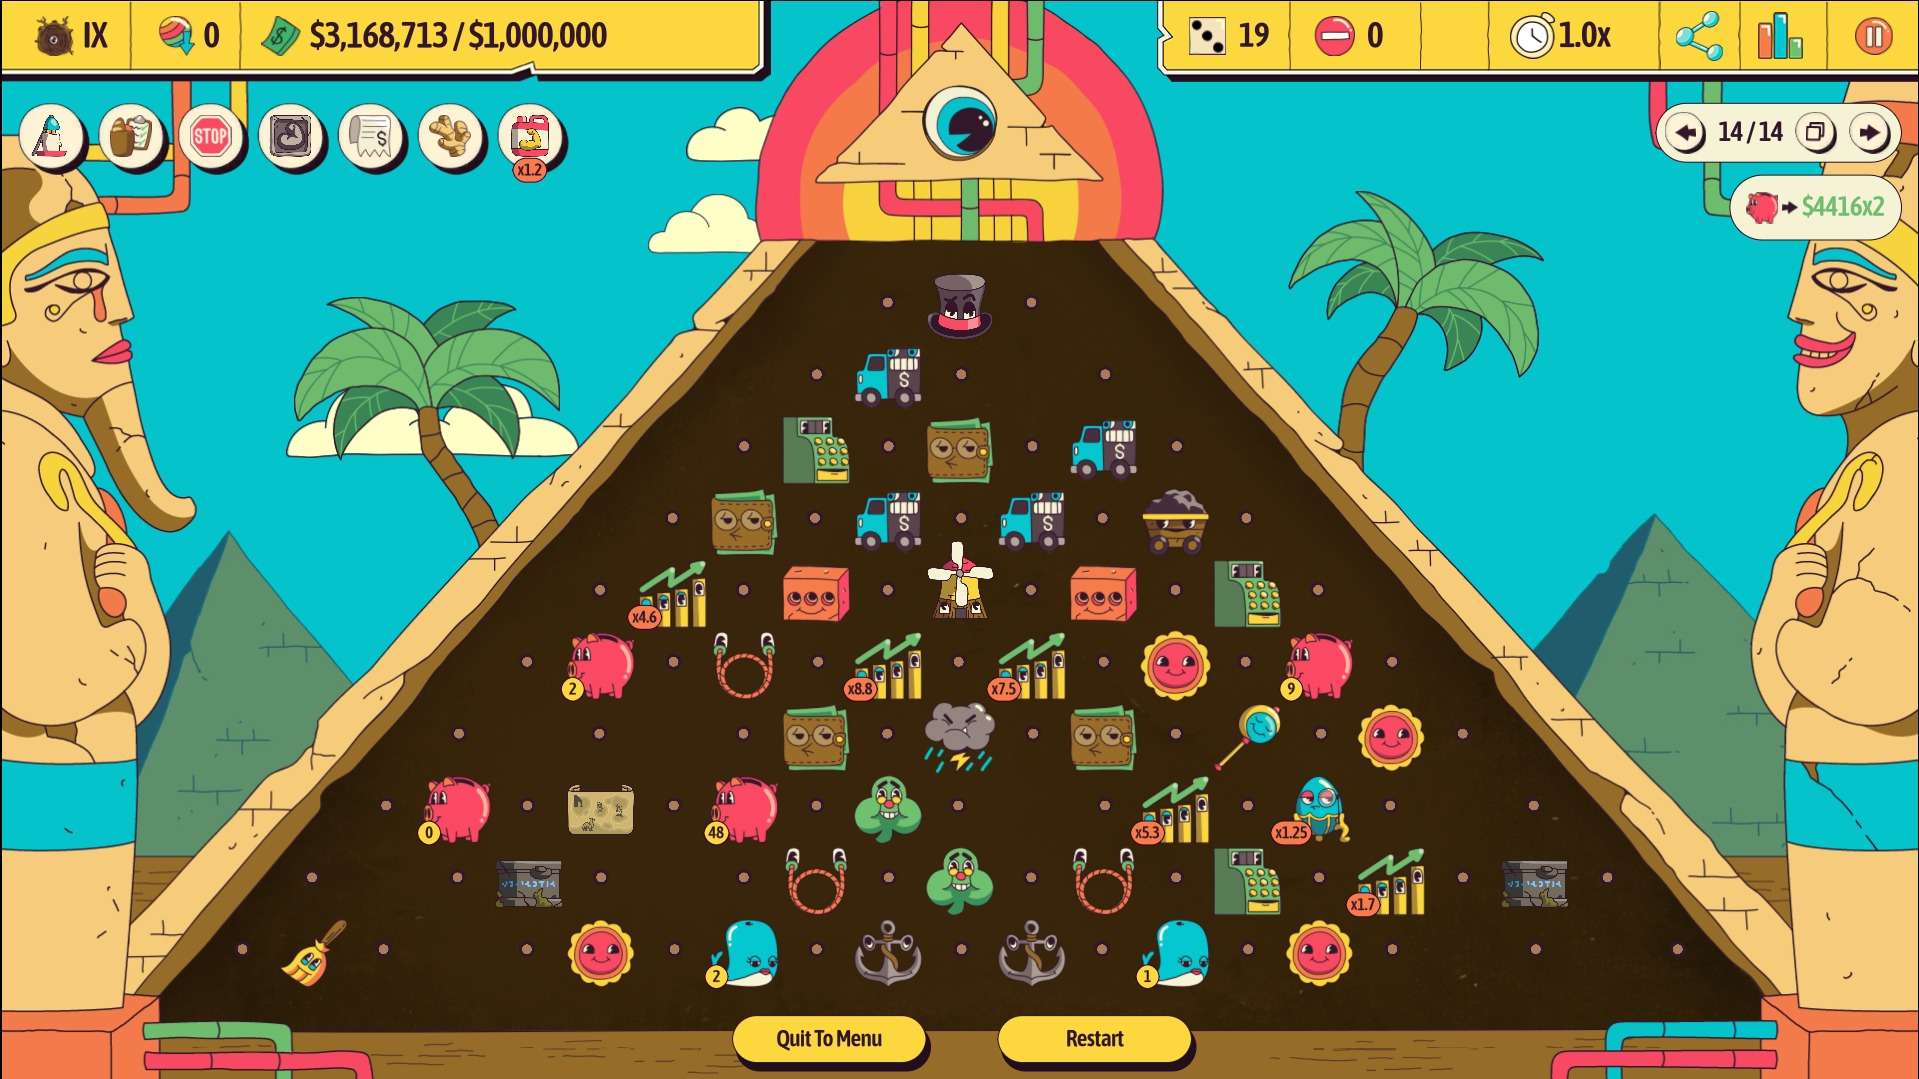
- For the pyramid map though I havent played much of it you probably want to do the same thing except without the jumprope and getting some good scaling as fast as possible. Rainbow at the top is a rlly good option especially with the relics that teleport the ball back to start and rebonk the top trigger.
- Food builds are better on pyramid than carnival due to the consistency of pyramid.
- Teleporters are quite reliable on pryamid, assuming you can fit one at the top of the pyramid and get more. place them all on the bottom row so the only valid teleport spot is the one at the top.
- Then bouncers can be placed alonge the slopes of the pyrramid to further push balls back toward the middle and into teleporters.
- Nothing prevents spawners from triggering a diffrent spawner even if its the same kind of trigger. just wont trigger the original one. so if you can make water balls from a dam go into a different dam consistently, you get an increasing number of water balls.
- Return package can be used to reroll/draft undraftable triggers.
- Eye of abundance can be pretty crazy on danger wheel since the innermost trigger spots are the “top row”.
- If your going to do the fishing mode i recommend the down under pack and also put a bumper in the bottom corners.

Brooms: The Power of Multiplying
Outside of creating absurdly OP credit card swiping machines, broom multipliers are permanent for that ball, so if you have stop sign and lots of brooms, you can sometimes get a quadruple multiplier on a ball, maybe even an octuple multiplier, which is the equivalent of a full egg carton. so basically, brooms are just common rainbows with the stop sign.
Pinball + Caves
The Pinball map is crazy good with caves as long as you hit your shots multiple times.
Another good thing is the fact that there is a lot of “top row” ao that means you can have many different things get bonked twice with that 1 rare relic. This was how I got my first 9 trillion or something.
Radiator + Disguise
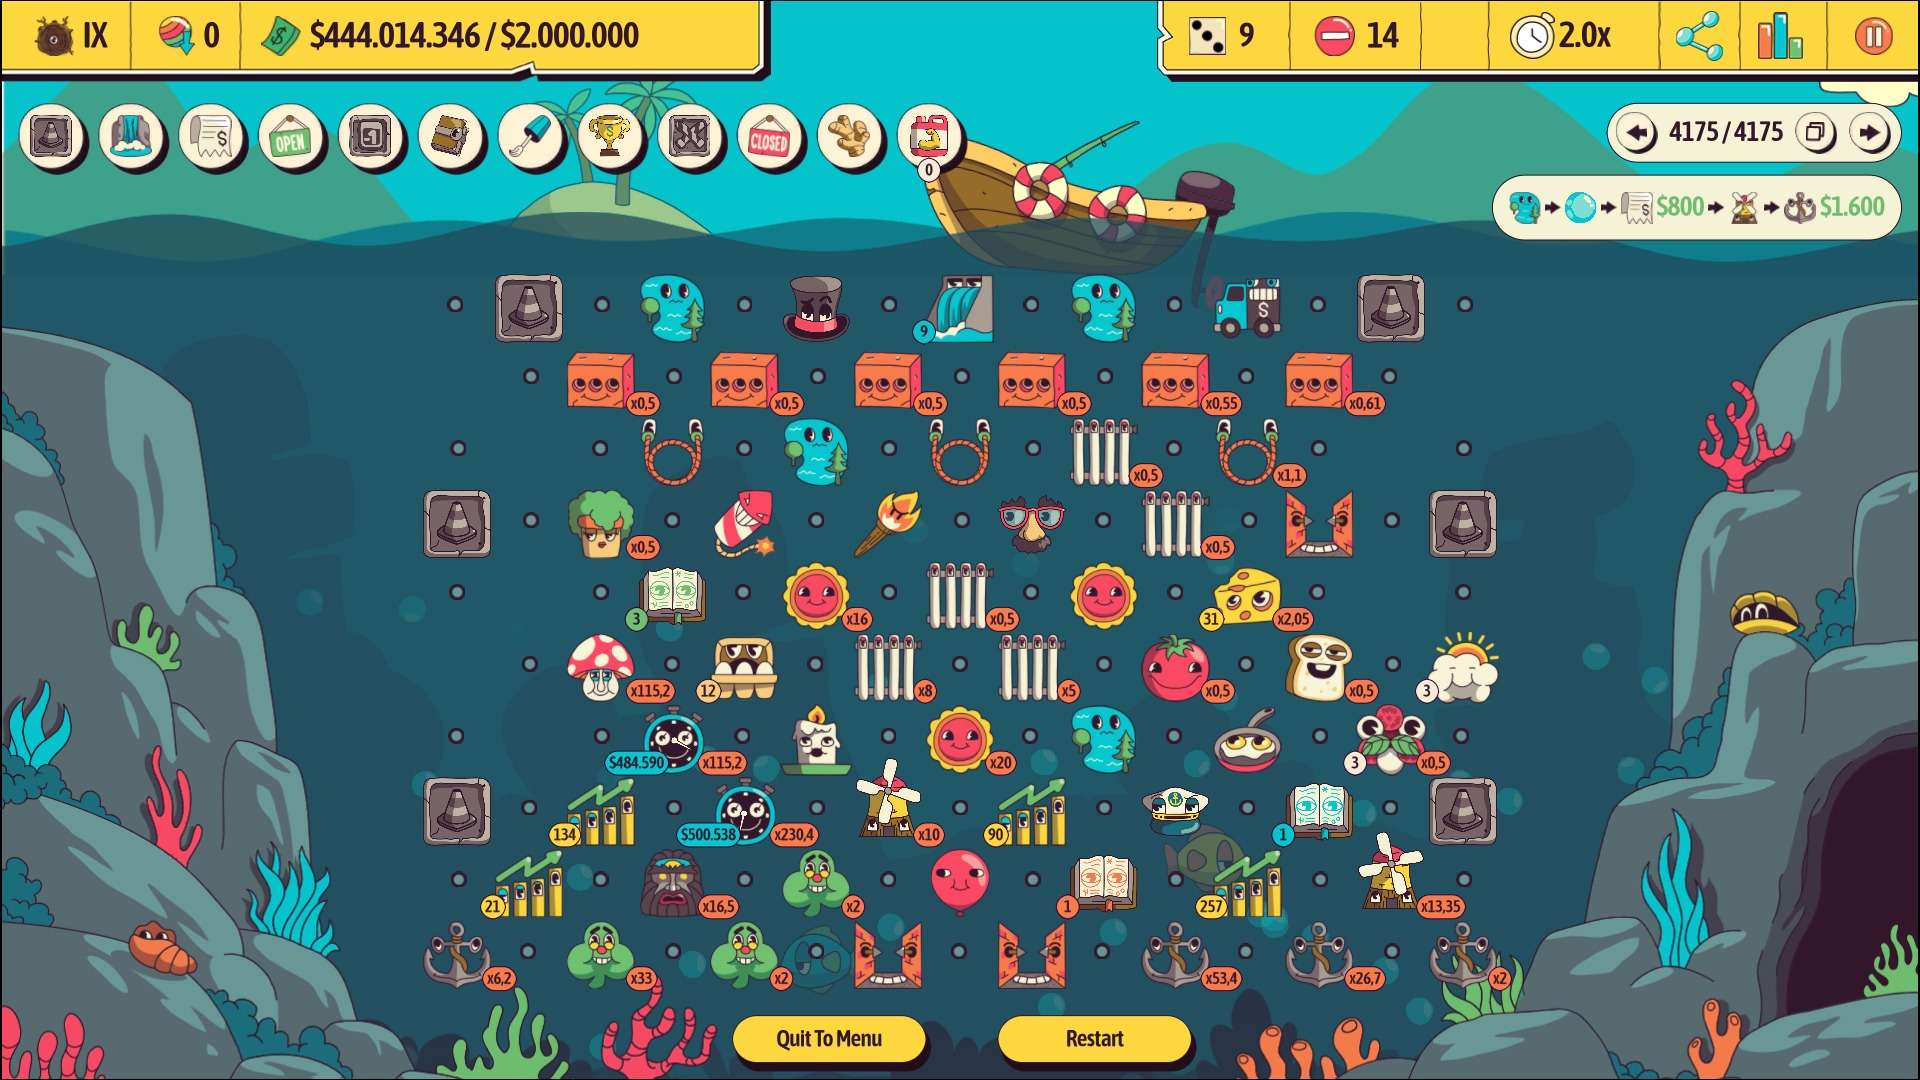
When a ball bonks a radiator while disguised, it spawns a waterball and a fireball. Put a bunch of radiators above each other with some disguises. They’ll keep on spawning new balls. In combination with some windmills I made 444 million dollars on the fish map.
Dangerwheel + Damage
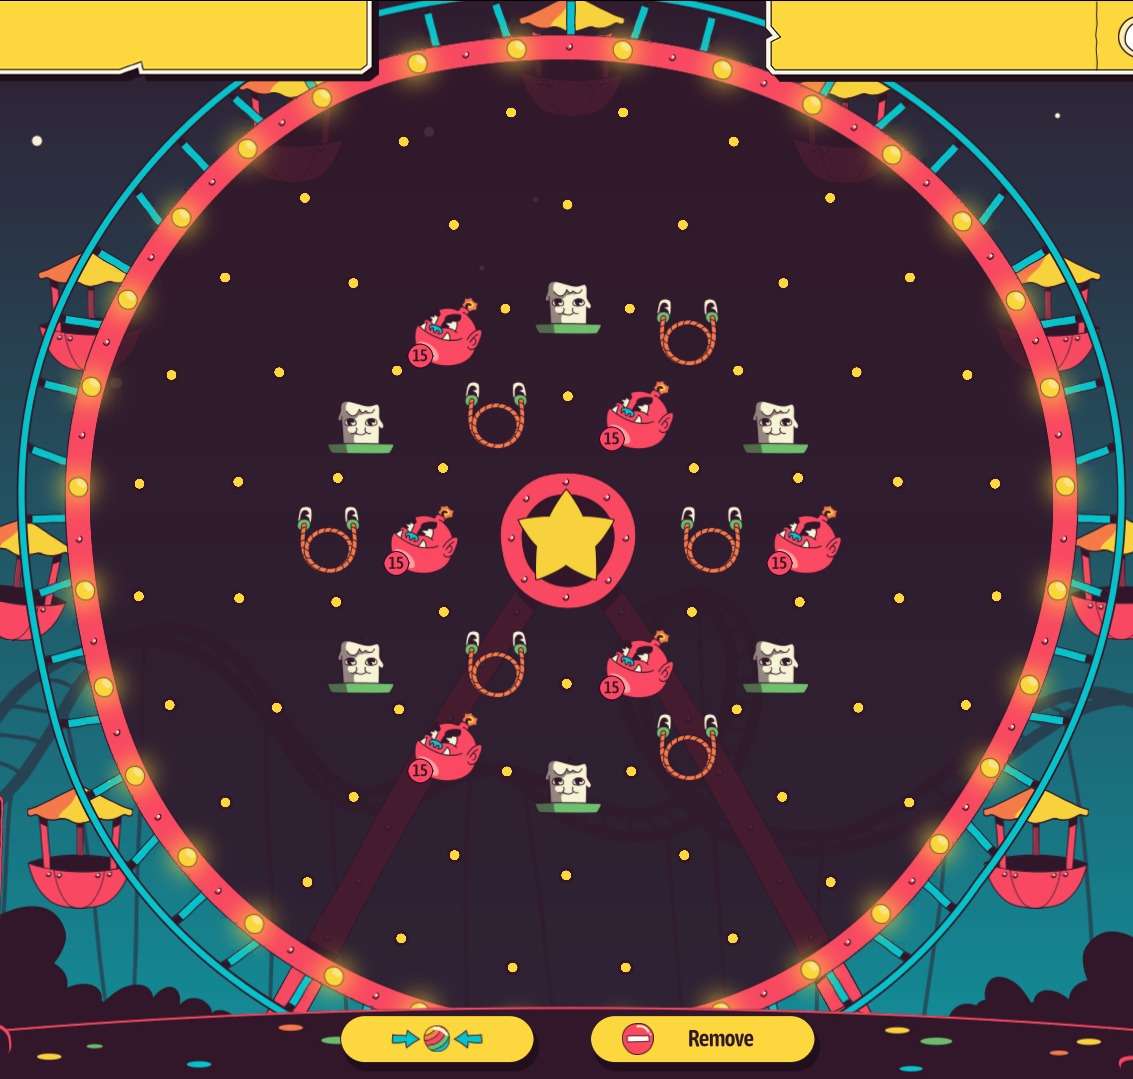
The Dangerwheel is almost impossible without jump ropes but if you stack the bombgoblin and ropes you can hit the goblin multiple time sometimes almost killing it in a single drop if you stack the candles with that you can regularly get a 2x multiplier from the candles and the bombgoblins cascade so the more you have the more stuff you can hit but dont get too many or you might softlock from recursive spawning.
Bonk Market
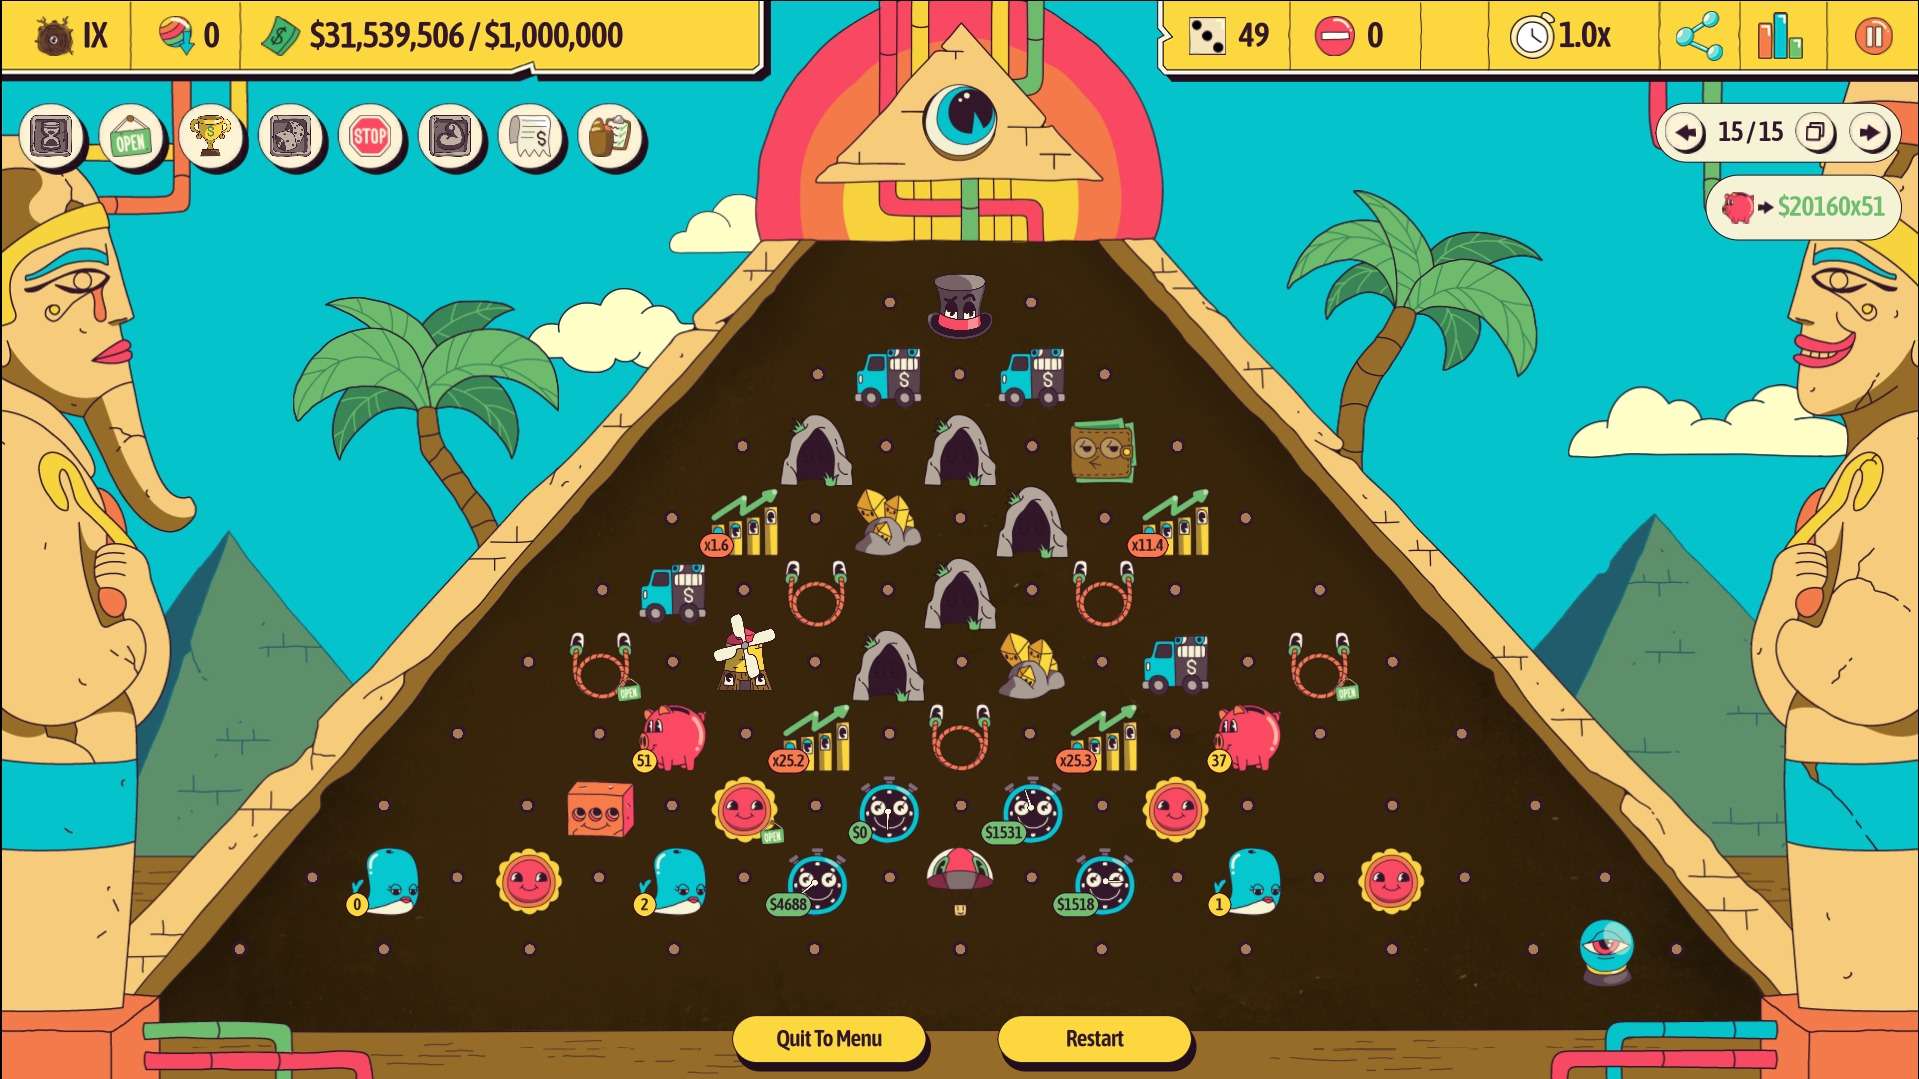
Bonk market is by far one of the most reliable builds in the game (for the demo). Every time I use it, 90% of my runs are wins, even in Billionaire+. Coin balls are already easy to spawn, so it’s not hard to get them, and the multiplier can be easily stacked so it can add up to at least 50 or higher, like I did in a run.


Be the first to comment