
Beginners Guide to Trials
By Errand.
45 Trial
- Use cannon to damage the boss while it is stunned. Cannon do ~12% damage and double during stun phase. Require decent dps to destroy fins before cannon expire.
- Tank can “dodge” water cannon by move between fins. “Endurance” skill (available in skill shop) allows you to avoid the stun effect.
- Barrier and Banner to reduce heavy press damage.
100 Trial – Ymir’s Abyss
Important Mechanic:
- Sweep: Manual cleanse after that so we dont freeze to die.
- Falling Icicles: Dodge icicles by going left and right, or you freeze to die. But don’t do that during Claw strike. You will have marker above you and small circle under your feet.
Extreme Cold + Claw strike:
- DPS and healer run away from the raining area or else you freeze to die.
- Tank: go inside the raining area before it end to tank Claw Strike.
Extreme Cold + Quaking Shattered Ice:
- Everyone go inside raining area instead, get frozen to avoid the damage
Icy Eruption:
- The dot appear three times instead of once. Just do it three times as in rift.
Bug:
- Sometimes you cant move. Always move left and right at the fight start to fix your position.
Note: This one is super hard at first, but afk-able after you have enough hp to tank those mechanics
Falling Icicles – go left and right to dodge.

Extreme Cold – half side will rain and freeze you. Go in or out depends on boss skill.

125 Trial – Seal The Awakening Dragon
Phase #1:
- Black tide burst: cleanse immediately.
- Cursemark cast will explode 3 times in sequence and the floor will not light up. You need to look at the ring around the boss to figure out which sector will explode.

Phase #2:
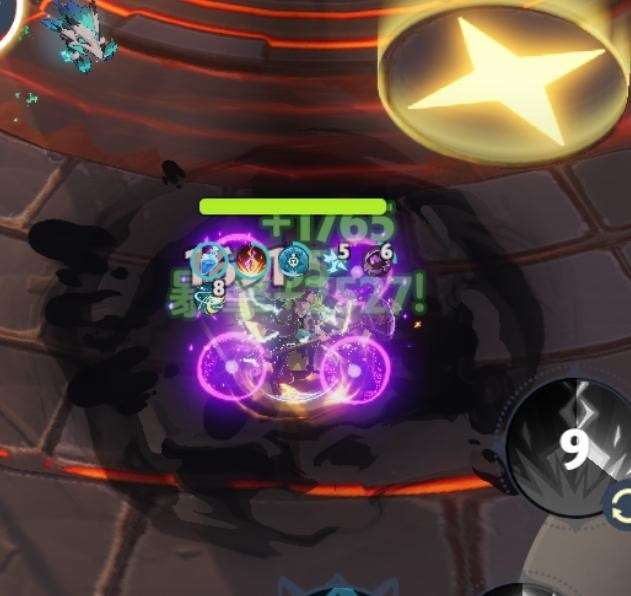
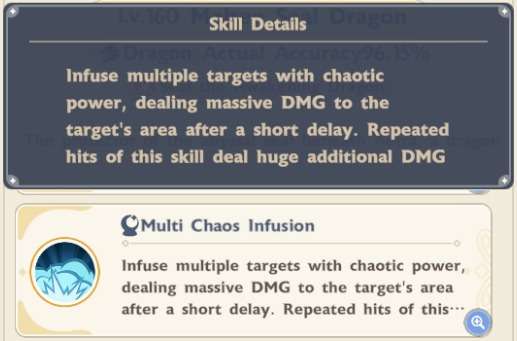
- New mechanic after 50% hp – multi chaos infusion.
- Dark aura around 2 or 3 players, explode and kill your teammate in the same sector after a short delay. It happens together with the corruption or breathing flame which require you to move.
Strategy:
Pre-assign one sector to the dps and healer. Stay in your sector and wait for the aura explode. Use turning point talent to survive the corruption/breathing flame.
If tank gets the aura, go to the sector without aura.
Whale Strategy:
One dps suicide before 50%hp and finish it with only 3 players.
In addition, the dragon takes 200% damage after the Apocalypse. Use awaken skill manually for burst.
160 Еrial – Dual of Fairness
Movement Counter:
- Movement counter above your head.
- Explosion in your sector when counter become zero (every 5 move).
- Heal tank stay middle except dodge raging storm, only DPS go to golden zone.
Cursed Beam:
- 2 person are targeted, take damage if you stand in same zone with them.
- Use divine heal.
- You may carefully reset your movement counter during this skill.
Raging Storm:
- It become faster and you need to move real quick.
- If your sector glow red after you enter, move immediately even if the sector next to you is exploding. The explosion next to you will probably end before you enter.
- Two people prioritise to go left, two people prioritise to go right; so your movement counter will not be all zero together.
Star Hammer Strike:
- Tank will probably need endurance to tank it.
Beast King Frenzy:
- Boss will change target to whoever dispel.
- Option A (rec): Tank it without dispel. Use polar shadow to reset tank skills, healer manual awaken to burst heal. (some say if you dispel after its first auto, it wont switch target. I haven’t test it)
- Option B: DPS dispel with turning point, may need to use war cry afterward
- Option C: Farm your luck, sometime he wont use this skill/ only once.
- There is a bug that you cant dispel in phase 1. Not sure if already fixed.
- Tank: Endurance (for star hammer), shield (for auto atk), guard(for auto atk) / war cry if DPS dispel.
- Heal: Restoration, single heal, divine heal.
- DPS: ~40M/s total.
180 Trial – Wyvern
Wolf, boar appear at the beginning. Kill wolf first, boar second, then Wyvern (boss will gain buff after wolf/boar die).
- Wyvern – Fire Breathing: barrier and banner.
- Wyvern – Meteor Shower: shield break – 2 dps alternate awaken for shield break if not enough dps; turning point to skip shield break once if needed.
- Herd Call – Bite (wolf): apply a lot of bleed to tank – shield and purification immediately.
- Herd Call – Charge (boar): interrupt.
Therefore, we have 3 things to interrupt (boar dash, Frenzied Storm, Blinding Mist). 2 person alternating the interrupt is enough but will need very good coordination.
- Herd Call – Stoop (boar): shield.
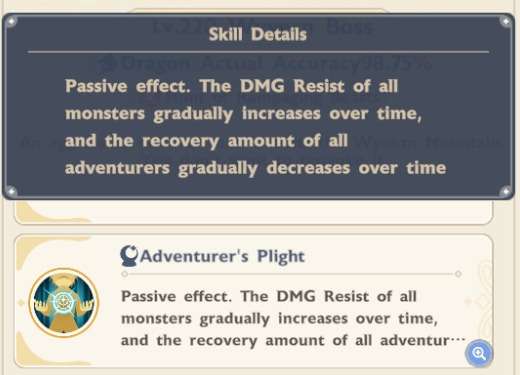
Tank will have very high pressure at the beginning, use polar shadow to reset your shield. Adventurer’s Plight starting from this trial: boss gain def overtime while we gain healing debuff.
- Tank: Shield (bite and stoop), banner, halt.
- Heal: Restoration, purification (for wolf), group heal (after wolf die), barrier.
We kept boar alive until 50%, but seems to be better to just kill it asap:
195 Trial – Drake
- Tank: Shield, banner, war cry or halt.
- Heal: Restoration & group heal (auto), purification (Earth Shaking / auto).
Tank + DPS or 2 DPS interrupt alternatively. You can only see and attack the small drake for 14 sec after interrupt. If you interrupt 2 time consecutively, you only see it for 7sec.
210 Trial – Bane / Cow
Calamity Sandstorm require shield break to end:
- Meter increase faster during shield break.
- DPS alternate awaken.
- Cleanse after shield break.
Taunt the two drake after both appear during earthquake. Horn has increased HP.
EOW – Bane / Cow
Great Earthquake:
Earthquake will always summon 2 drake or 1 Wyvern alternatively. Tank interrupt Wyvern if the group cant kill it before it cast skill.
New Skill – Terrifying Face:
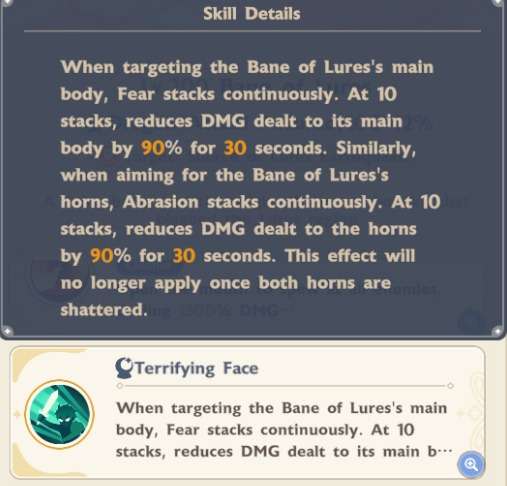
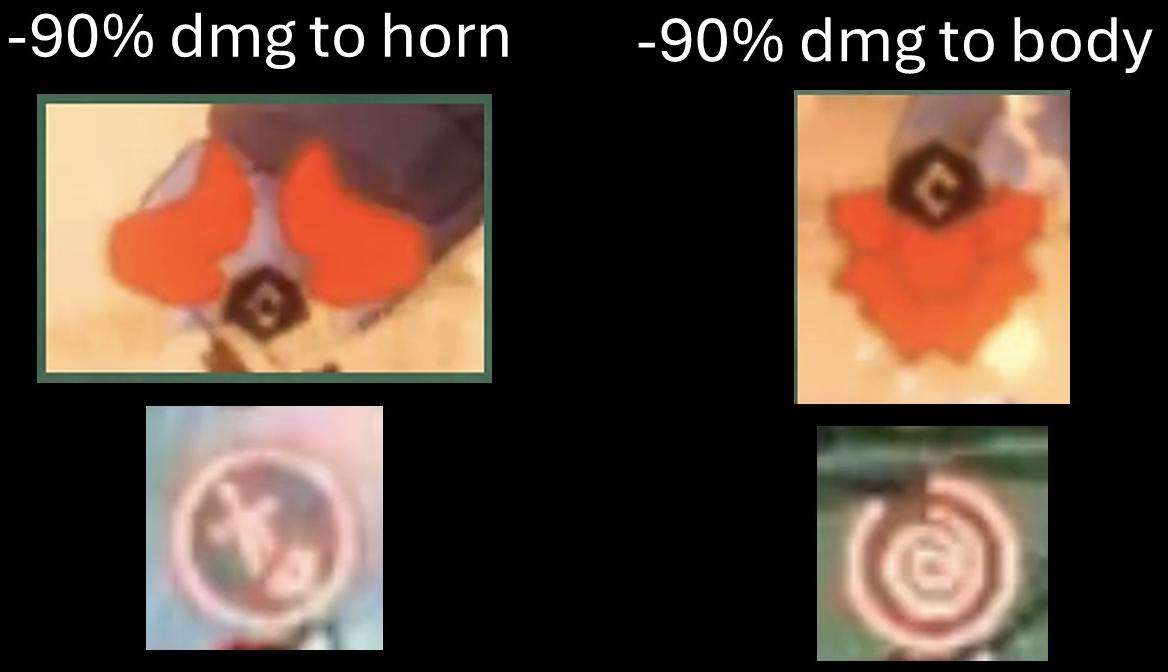
- Gain debuff every 3 seconds when attacking body/horn. At 10 stacks, your damage to body/horn is reduced by 90%.
- 2 DPS attack body, 2 DPS attack horn alternatively. Don’t switch targets during shield break.
- Sword debuff icon/horn icon above you: -90% damage to horn.
- Swirl debuff icon/body icon above you: -90% damage to body.
- The game sometimes will auto-switch targets for you at the beginning; switch back immediately.
- Don’t switch targets before 10 stacks, or you may get both debuffs.
245 Trial – Wolf Fenrir
- Pinpoint Purge become 3 targets x 3 times. Same handling as rift.
- Boss will summon small robot. Tank Taunt.
- Boss will buff small robot. tank or 1 DPS auto dispel.

EOW – Wolf Fenrir
Phase #1:
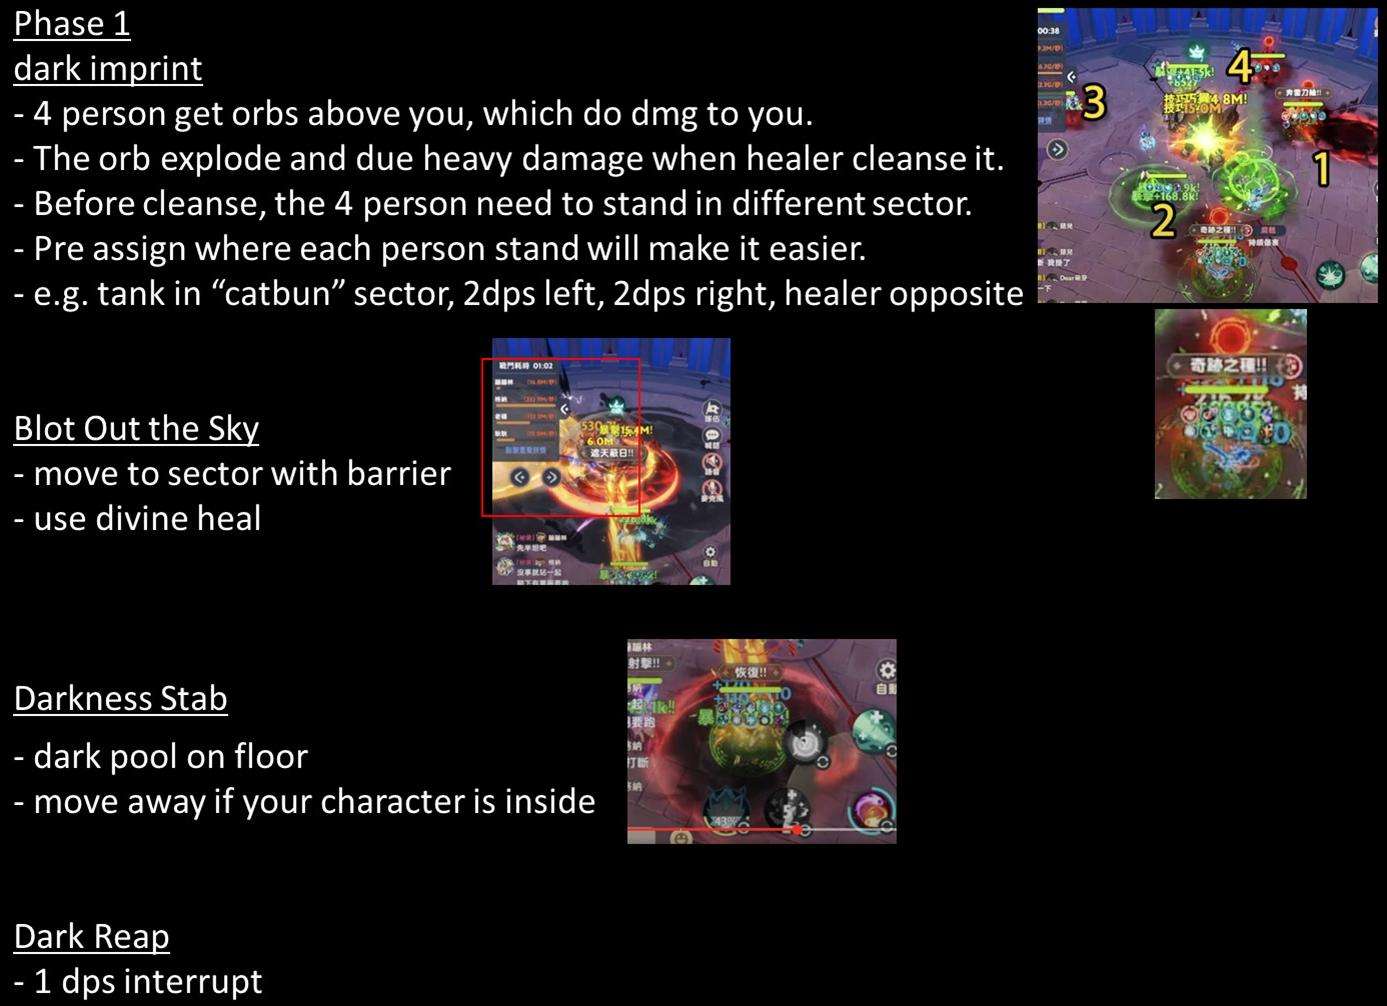
Dark Imprint
- 4 players get orbs above them, which deal damage.
- The orbs explode and deal heavy damage when healers cleanse them.
- Before cleansing, the 4 players need to stand in different sectors.
- Pre-assigning where each person stands will make it easier.
- Example: tank in “catbun” sector, 2 DPS left, 2 DPS right, healer opposite
Blot Out the Sky
- Move to sector with barrier
- Use Divine Heal
Darkness Stab
- Dark pool appears on floor
- Move away if your character is inside
Dark Reap
- 1 DPS interrupts
Phase #2:
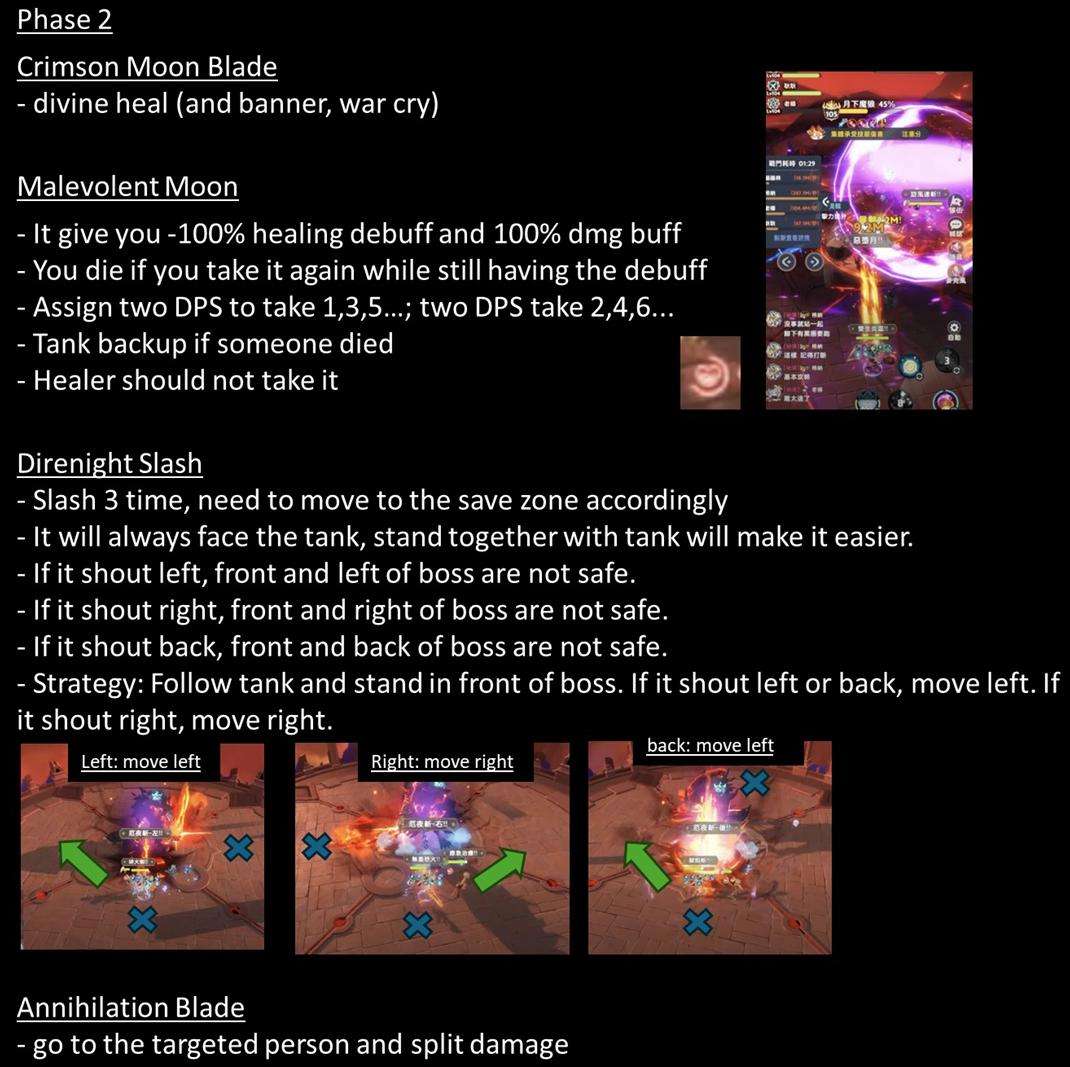
Crimson Moon Blade
- Use Divine Heal (and Banner, War Cry)
Malevolent Moon
- Gives you -100% healing debuff and 100% damage buff
- You die if you take it again while still having the debuff
- Assign two DPS to take turns 1,3,5…; two DPS take 2,4,6…
- Tank backs up if someone dies
- Healer should not take it
Direnight Slash
- Slashes 3 times, need to move to the safe zone accordingly
- Will always face the tank; standing together with tank makes it easier
- If it shouts “left,” front and left of boss are not safe
- If it shouts “right,” front and right of boss are not safe
- If it shouts “back,” front and back of boss are not safe
- Strategy: Follow tank and stand in front of boss. If it shouts “left” or “back,” move left. If it shouts “right,” move right
Annihilation Blade
- Go to the targeted person and split damage




Be the first to comment